Quickstart
Here you can find a simplified process to integrate AppKit Pay:Code Example
AppKit Pay Example
Check the React example
Install the library
Projects currently using Reown AppKit, or planning to use it to build custom payment flows with self-custodial wallets, should use AppKit Pay for a streamlined integration and significantly improved user experience out of the box. AppKit Pay can be found in
@reown/appkit-pay npm package.pay - Full Payment Flow
This function handles the complete payment flow — it opens the payment UI and waits for the result (success, failure, cancel, timeout).
pay. This function receives three values: recipient, amount, and paymentAsset.
openPay - Open Payment UI Only
This function opens or triggers the payment UI modal but doesn’t return the result of the payment. Use the hook to handle the payment result.
Supported Networks and Assets
For a complete list of supported networks and assets, please refer to the Networks and Assets Supported section in our Pay with Exchange documentation.Assets Configuration
For the moment, AppKit Pay has pre-configured these assets:- baseETH, baseSepoliaETH, and baseUSDC
- ethereumUSDC, optimismUSDC, arbitrumUSDC, polygonUSDC and solanaUSDC
- ethereumUSDT, optimismUSDT, arbitrumUSDT, polygonUSDT and solanaUSDT
Prerequisites
Enable Payments Feature in Dashboard
The “Payments” feature must be enabled in the Reown Dashboard before you can use AppKit Pay, even for local testing.- Go to your project in the Reown Dashboard
- Navigate to the Payments section
- Enable the Payments feature for your projectId
Test locally
In order to test locally use localhost and port 3000. This is the only port available for local testing. Add the following to your package.json file in order to run the development server on port 3000:Test the complete exchange flow
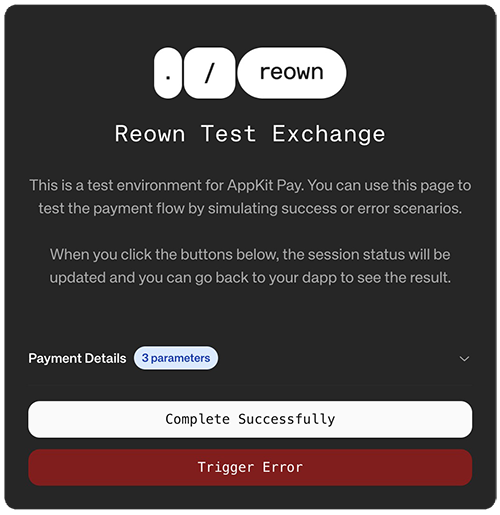
To test the entire exchange process, we’ve implemented a dedicated test scenario that activates when using the tokenbaseSepoliaETH.

- Complete Successfully – Simulates a successful exchange outcome.
- Trigger an Error – Simulates a failed exchange with an error response.
Hooks
All the pay with exchanges hooks must be imported from@reown/appkit-pay/react. For example:
useAvailableExchanges
Fetches and manages the state for available exchanges.useAvailableExchanges(options?: { isFetchOnInit?: boolean } & GetExchangesParams): UseAvailableExchangesReturn
options: Control initial fetch behavior.returns:{ data, isLoading, error, fetch }
type GetExchangesParams= { page?: number asset?: string amount?: number | string network?: CaipNetworkId }
usePayUrlActions
Provides functions (getUrl, openUrl) to interact with specific exchange URLs, returning the sessionId needed for status tracking.usePayUrlActions(): { getUrl, openUrl }
getUrl(exchangeId, params): Promise<PayUrlResponse>openUrl(exchangeId, params, openInNewTab?): Promise<PayUrlResponse>(Returns{ url, sessionId })
useExchangeBuyStatus
Fetches and polls for the status of a headless payment transaction using exchangeId and sessionId.useExchangeBuyStatus(params: UseExchangeBuyStatusParameters): UseExchangeBuyStatusReturn
params:{ exchangeId, sessionId, pollingInterval?, isEnabled?, onSuccess?, onError? }returns:{ data, isLoading, error, refetch }