
Setup
This guide assumes you have already installed and configured Reown AppKit. If you haven’t please follow the installation guide. For this tutorial, we’ll be using Next.js, though you can use any other framework compatible with AppKit.Create a Virtual TestNet using Tenderly
Navigate to Tenderly Dashboard and login. If you don’t have an account already, then please sign up. Now, navigate to “Virtual TestNets” on the dashboard.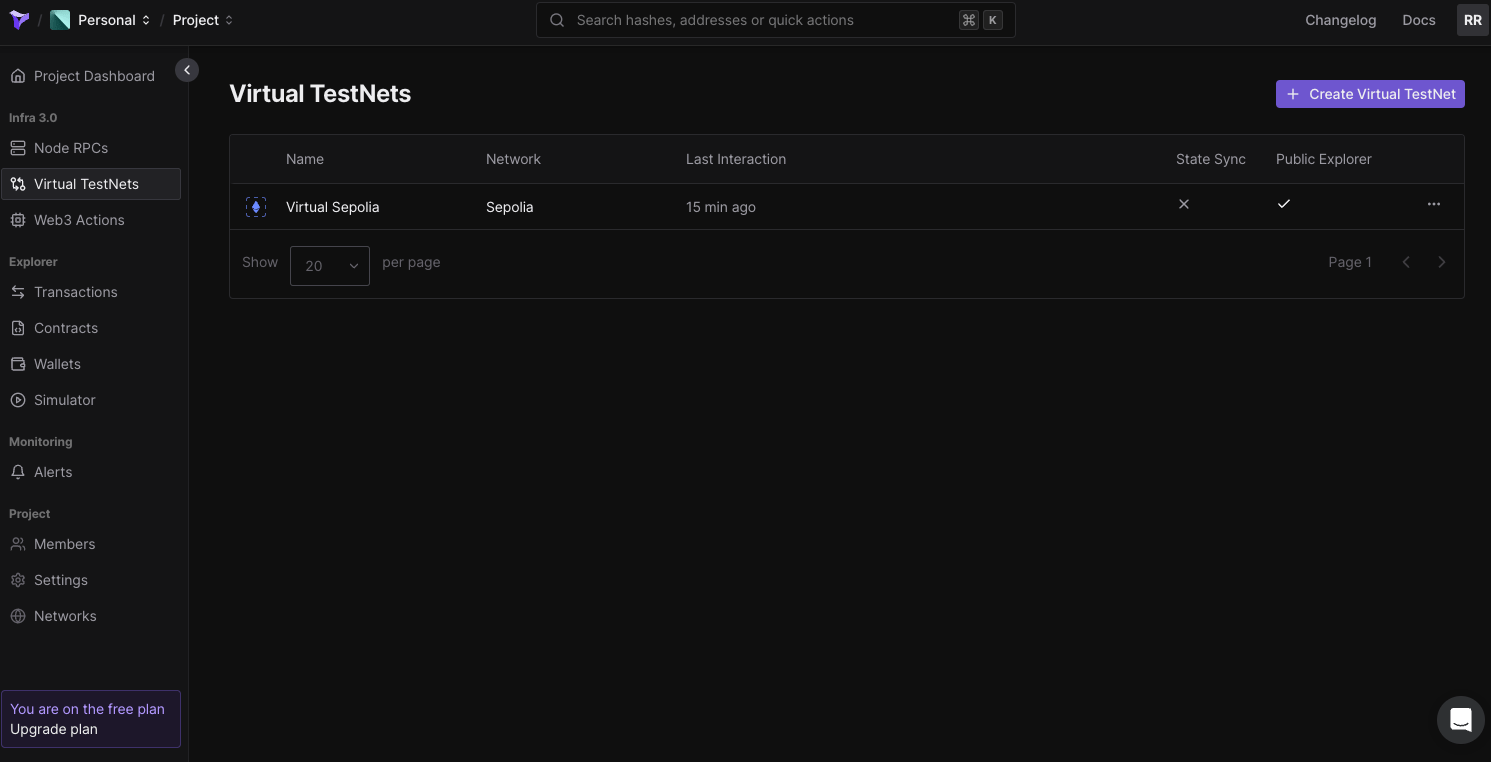
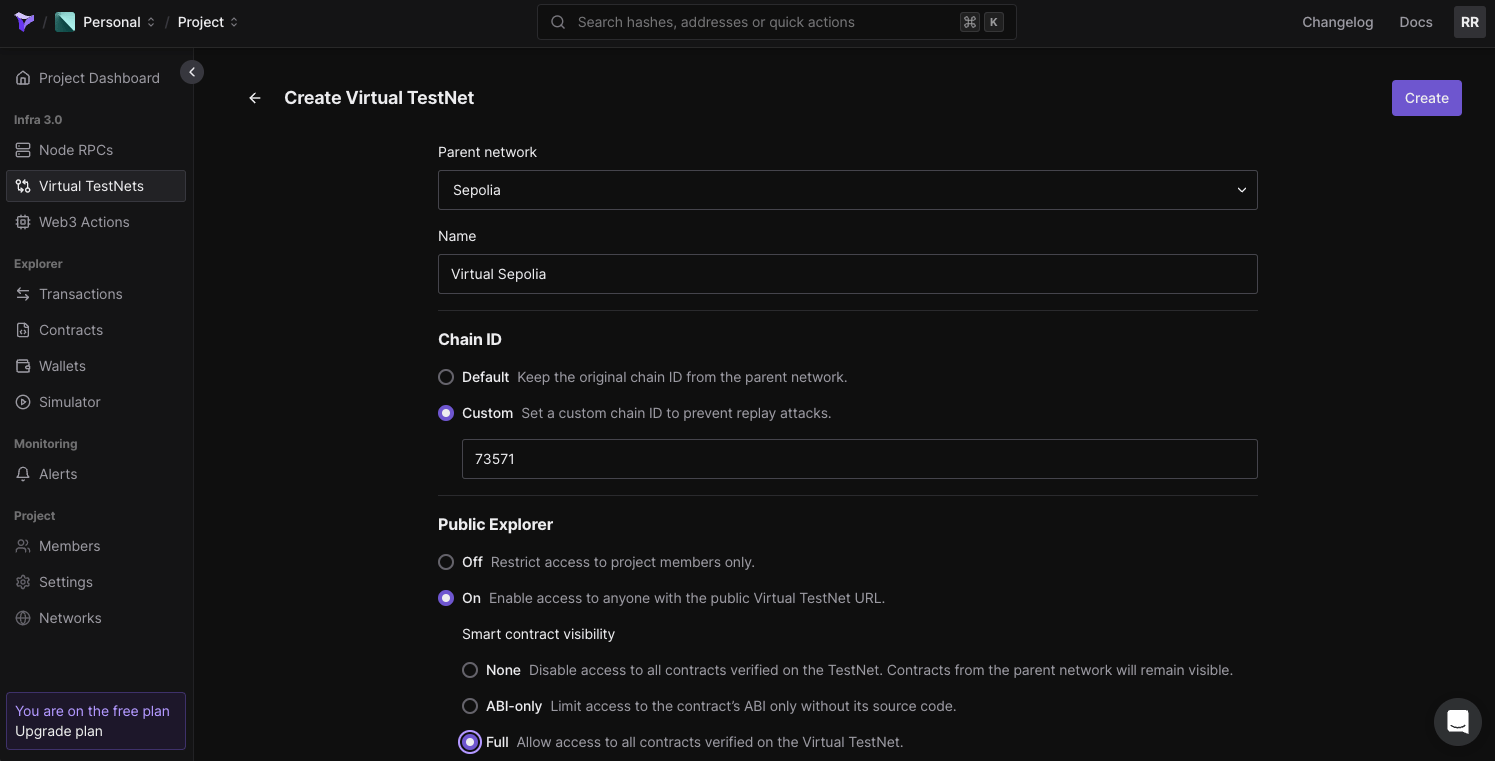
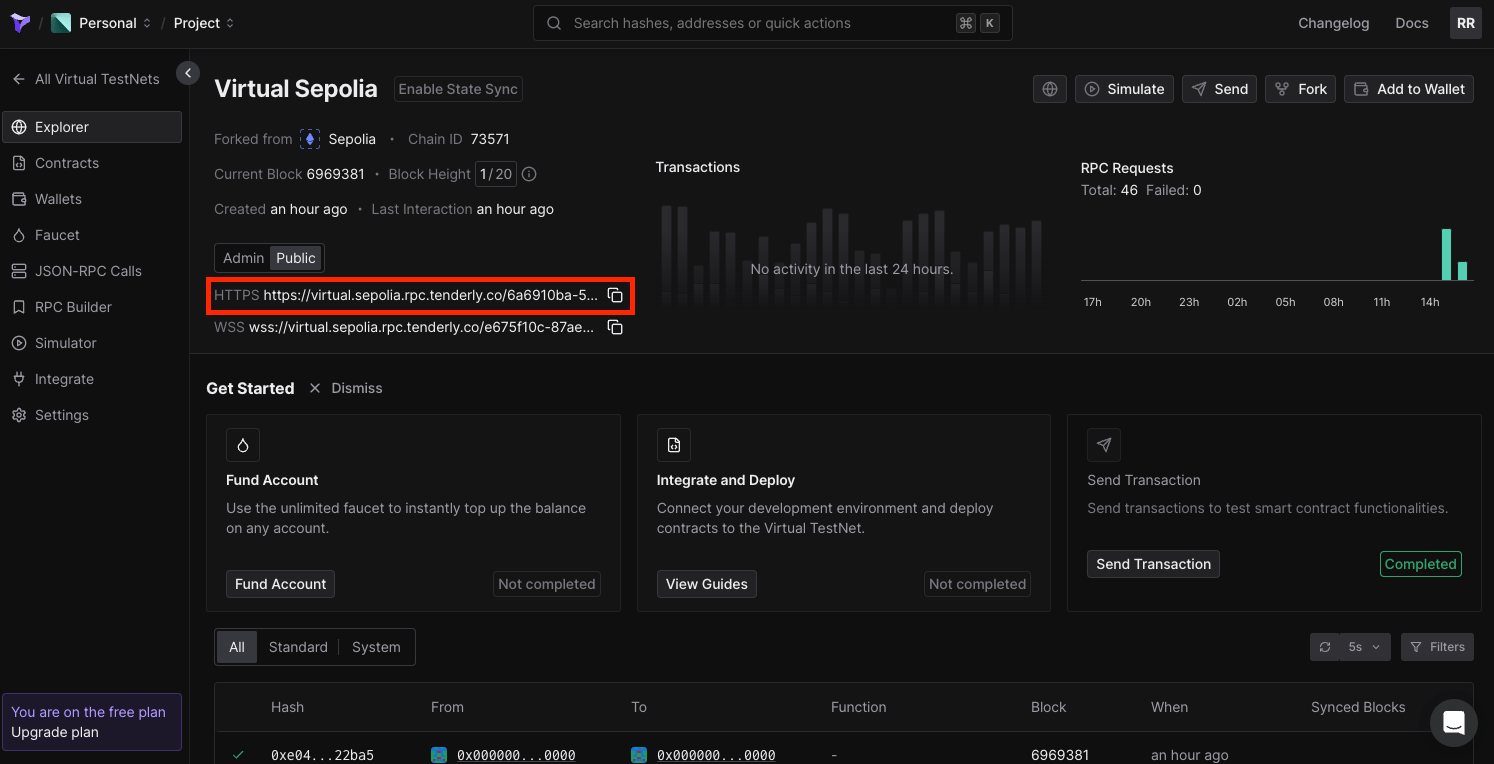
HTTPS URL under “Public” as this will be your Virtual TestNet’s RPC URL.
Build the App
Before we build the app, let’s first configure our.env file. On the root level of your code directory, create a new file named .env.
Open that file and create a new variable NEXT_PUBLIC_PROJECT_ID. You will assign the project Id that you copied in the previous step to this environment variable that you just created. You need to do the same for TENDERLY_VIRTUAL_TESTNET_RPC. This is what it will look like:
.env
Please make sure you follow best practices when working with secret keys and other sensitive information. Environment variables that start with
NEXT_PUBLIC will be exposed by your app, which can be misused by bad actors.Configure Tenderly Virtual TestNet with AppKit
In order to set up Tenderly’s Virtual TestNet with AppKit, you need to first configure your Tenderly Virtual TestNet as a custom chain. Inside your/app directory, create a new file named tenderly.config.ts. Now, paste the code snippet shared below inside the code file, i.e., app/tenderly.config.ts.
app/tenderly.config.ts
id— set this to the chain Id that you passed while creating the Virtual TestNet on Tenderly.url— set this with your Virtual TestNet’s explorer URL. You can find this URL within your Virtual TestNet’s configuration on Tenderly Dashboard.
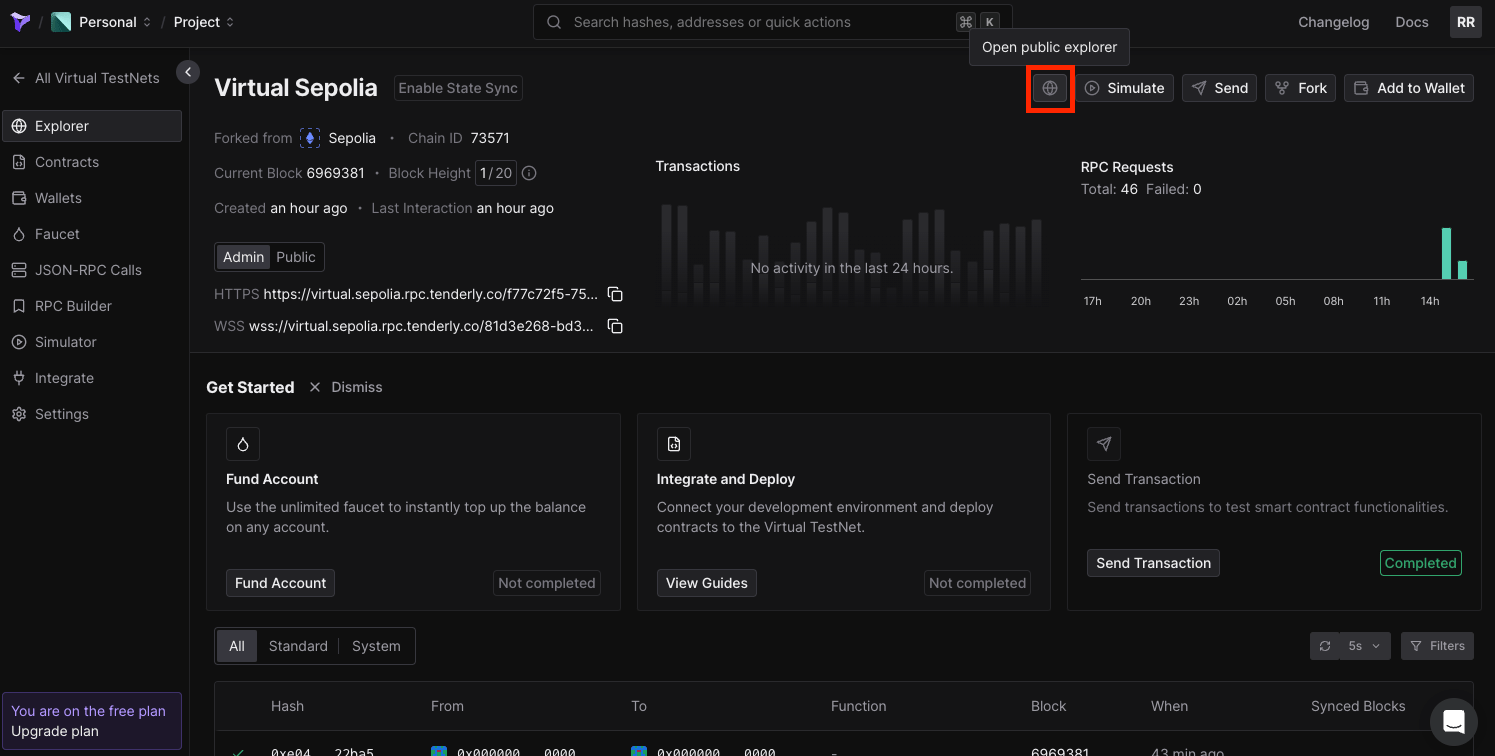
config/index.tsx file, import vTestnet from app/tenderly.config.ts. You’ll also need to configure transports within the WagmiAdapter function. Refer to the code snippet below.
config/index.tsx
context/index.tsx file, you also need to import vTestnet and pass it as one of the supported networks within the createAppKit function, as shown below.
context/index.tsx
If you are using alternative package managers, you can try either of these commands —yarn dev,pnpm dev, orbun dev.
Conclusion
And that’s it! You have now learned how to create a simple app using AppKit and configure it with Tenderly Virtual TestNets.Tenderly Virtual TestNets Example
View the complete code repository here.