Email login option is currently only available on WebGL. We’re working on adding support for other platforms.
User flow
- Users will be able to connect to you application by simply using an email address. AppKit will send to them a One Time Password (OTP) to copy and paste in the modal, which will help to verify the user’s authenticity. This will create a non-custodial wallet for your user which will be available in any application that integrates AppKit and email login. Alternatively, users can connect using social accounts.
- Eventually the user can optionally choose to move from a non-custodial wallet to a self-custodial one by pressing “Upgrade Wallet” on AppKit (currently only visible on WebGL). This will open the (WalletConnect secure website) that will walk your user through the upgrading process.
Integration
Email and Social login options are enabled by default. You can disable them or modify the list of social platforms by setting theenableEmail and socials parameters in the AppKitConfig object.
Options
- enableEmail: This boolean defines whether you want to enable email login. Defaults to
true. - socials: This array contains the list of social platforms that you want to enable for user authentication. Set it to
nullor empty array to disable social login.
UI Variants
AppKit SDK offers multiple UI variants to customize the user experience for the authentication process. Note, that the UI can be slightly different depending on the platform. By configuring thesocials option in the AppKitConfig object, you can control the amount of social providers you want to show on the connect screen:
-
socials: new[] { SocialLogin.Google }: When you only set one social provider, it will give you a button withconnect with provider.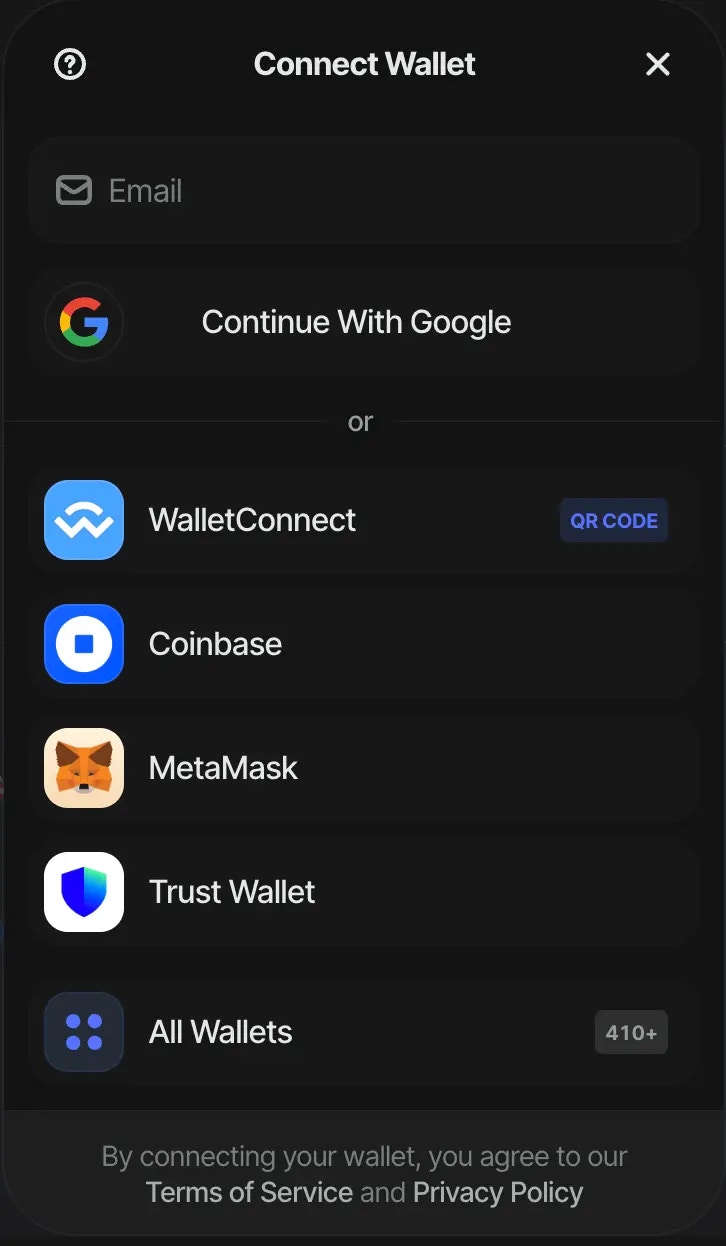
-
socials: new[] { SocialLogin.Google, SocialLogin.Discord }: When you set 2 social providers, it will give you 2 buttons next to each other with the logo of the social provider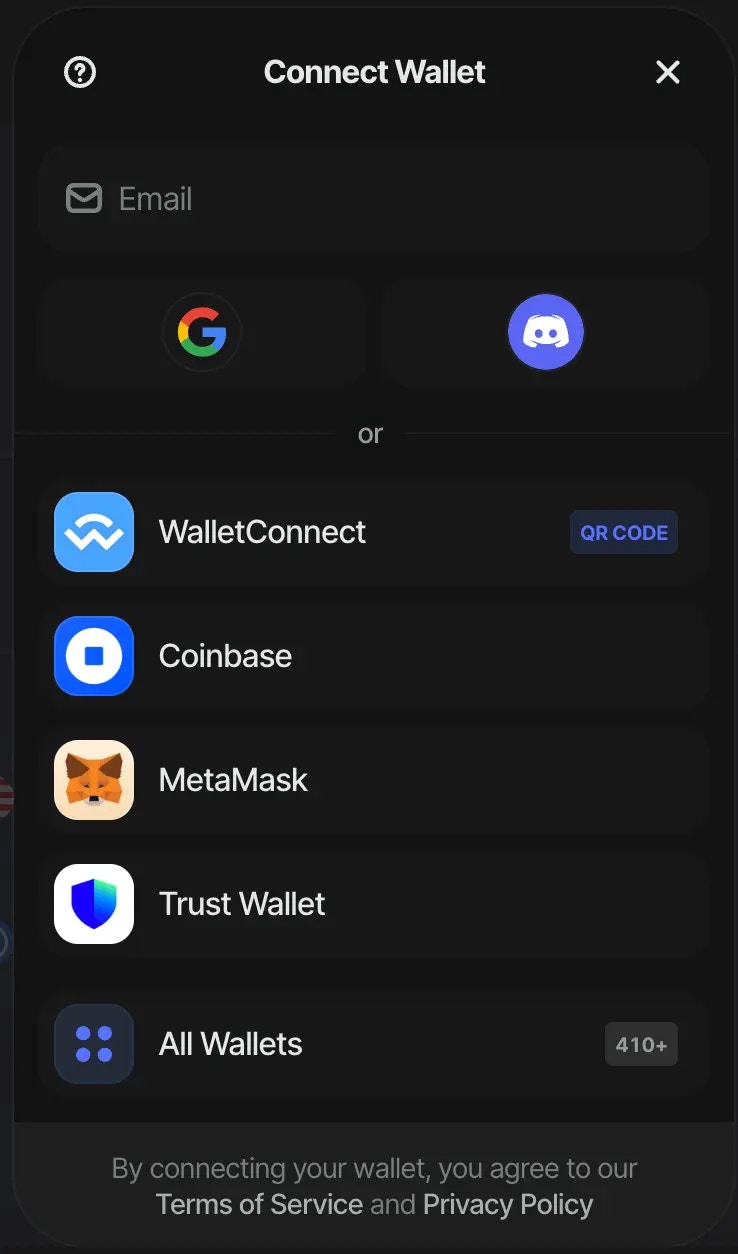
-
socials: new[] {SocialLogin.Google, SocialLogin.X, SocialLogin.Discord, SocialLogin.Apple, SocialLogin.Github}: When you set more than 2 social providers, the first provider in the array will get a button withconnect with provider. The other providers will get a button with the logo of the social provider next to each other.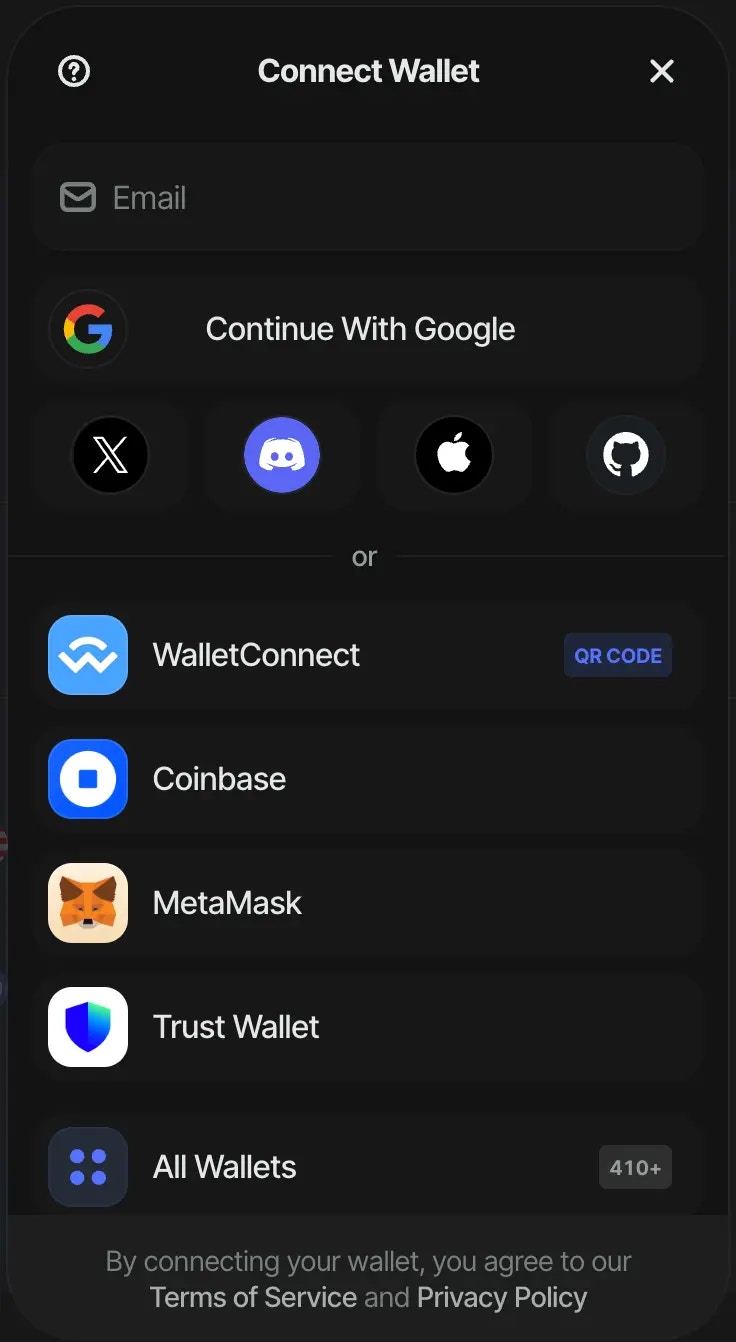
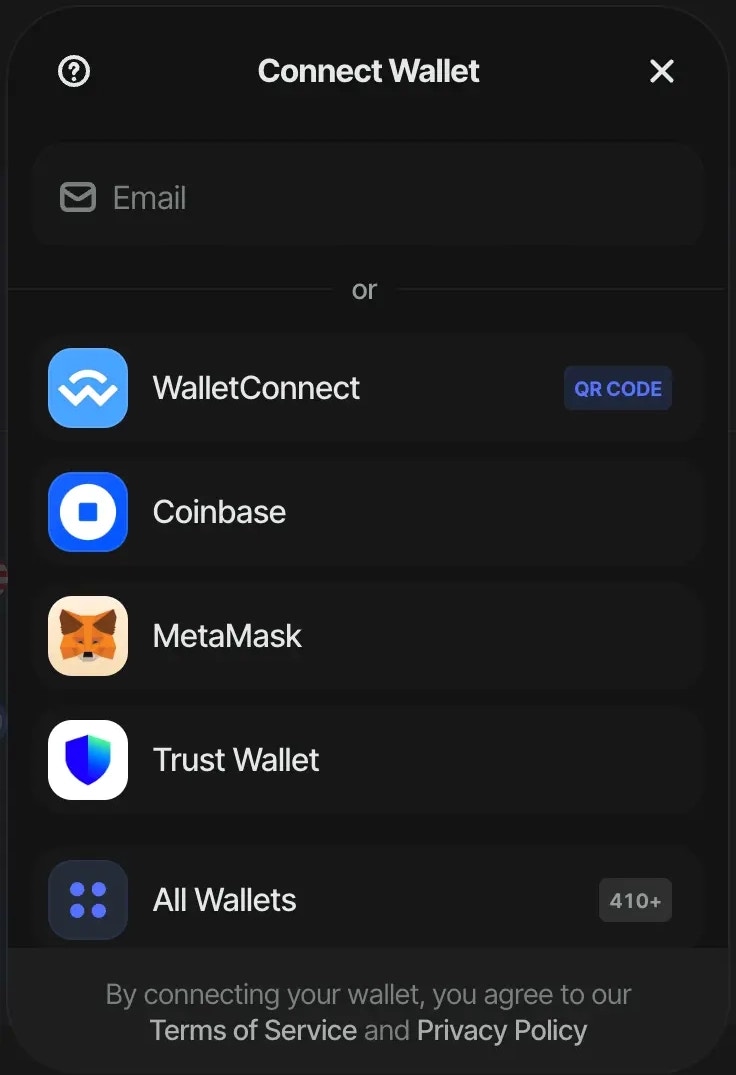
-
socials: Array.Empty<SocialLogin>()orsocials: null: When you want to disable social logins.