Feature Toggles
Feature toggles allow you to turn specific features on and off. There are several feature toggles split into 4 categories:Accounts & Authentication
Social & Email Logins
Enable non-crypto logins via social accounts or email, including email, Google, X, Discord, Farcaster, Github, Apple & Facebook. Flip the toggle on, choose as many or as few as you like and press “Apply” to register your changes.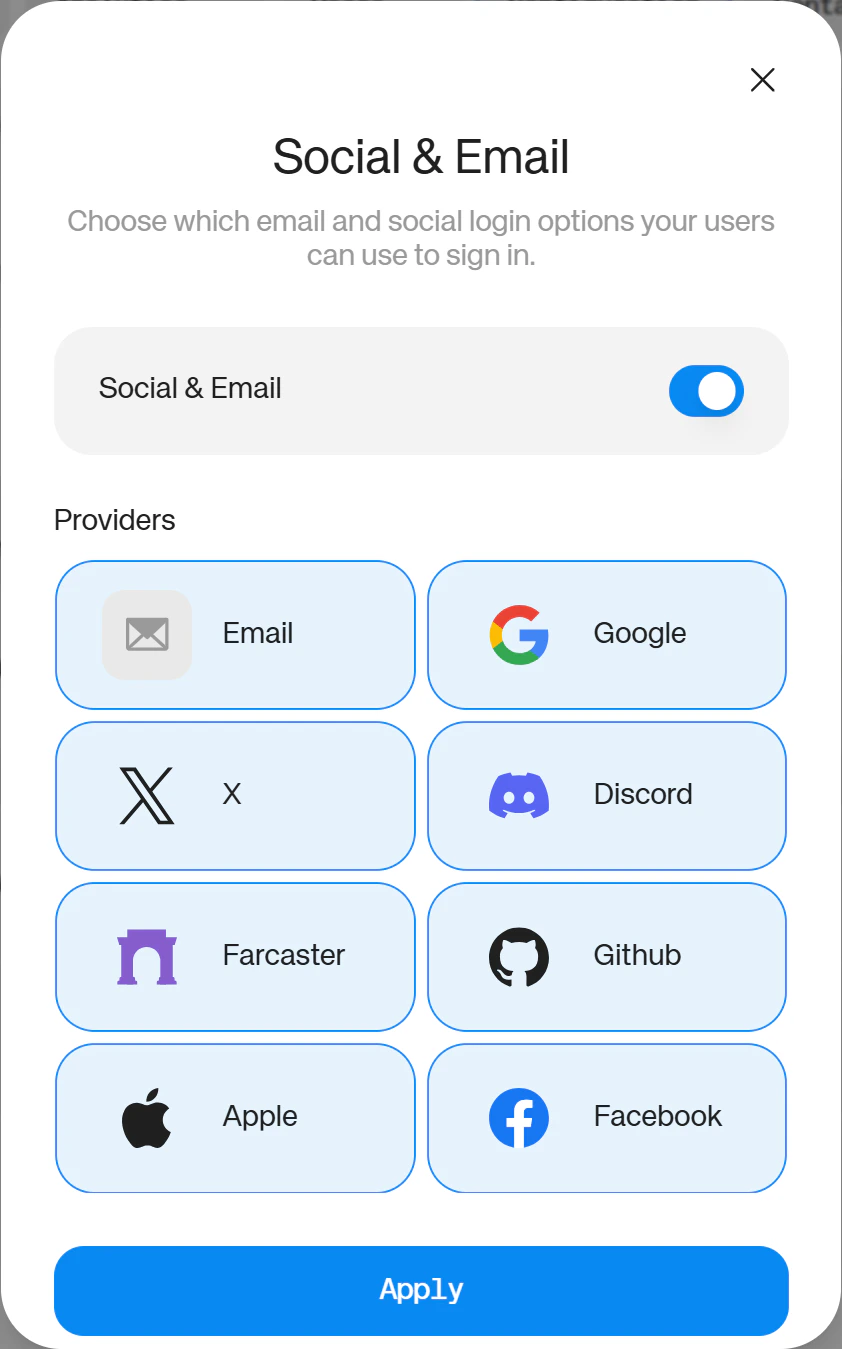
Reown Authentication
Enable authentication via Sign in with Ethereum (SIWE) or multichain auth (SIWX) so you can allow logins with 500+ crypto wallets via the WalletConnect network. Flip the toggle on and press “Apply” to register your changes.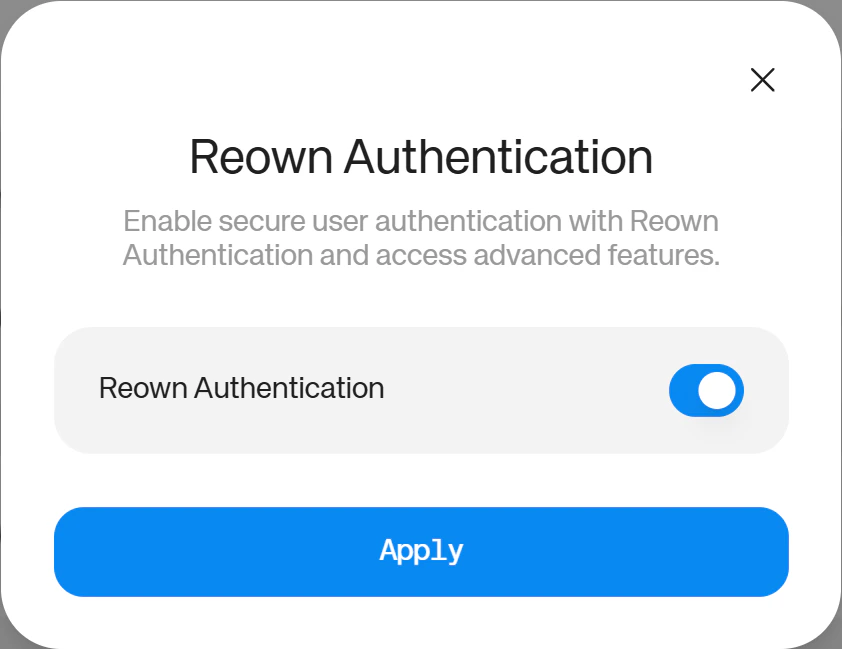
Multi Wallet
Turn on Multi Wallet Linking to allow your users to connect multiple wallets to your app in a single session. Flip on the toggle and press “Apply” to register the changes.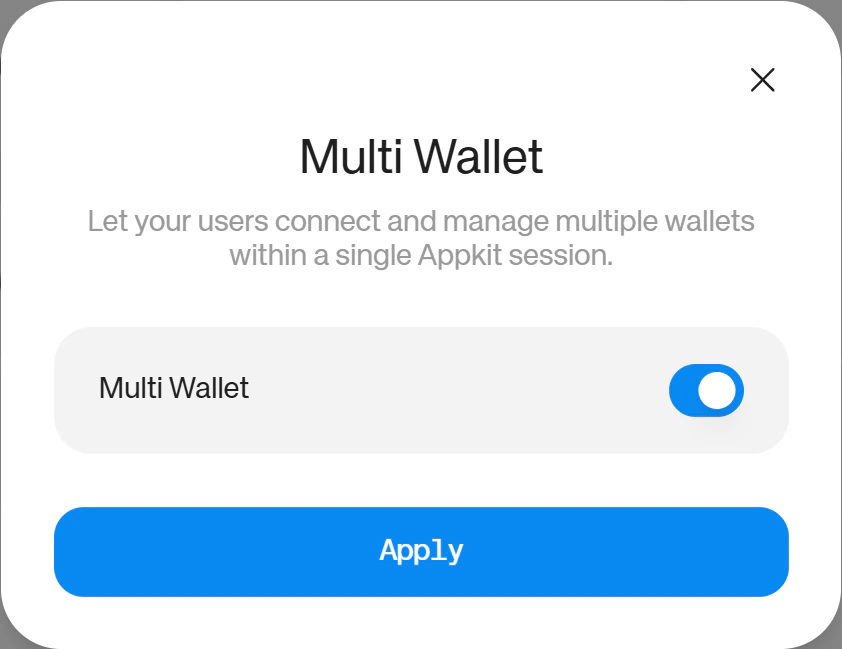
Payments, Deposits & Swaps
Onramp
Turn on the onramp feature to allow your users to buy crypto with fiat currencies (such as Dollars or Euros) directly in app. Flip the toggle on, choose your provider, and press “Apply” to register the changes.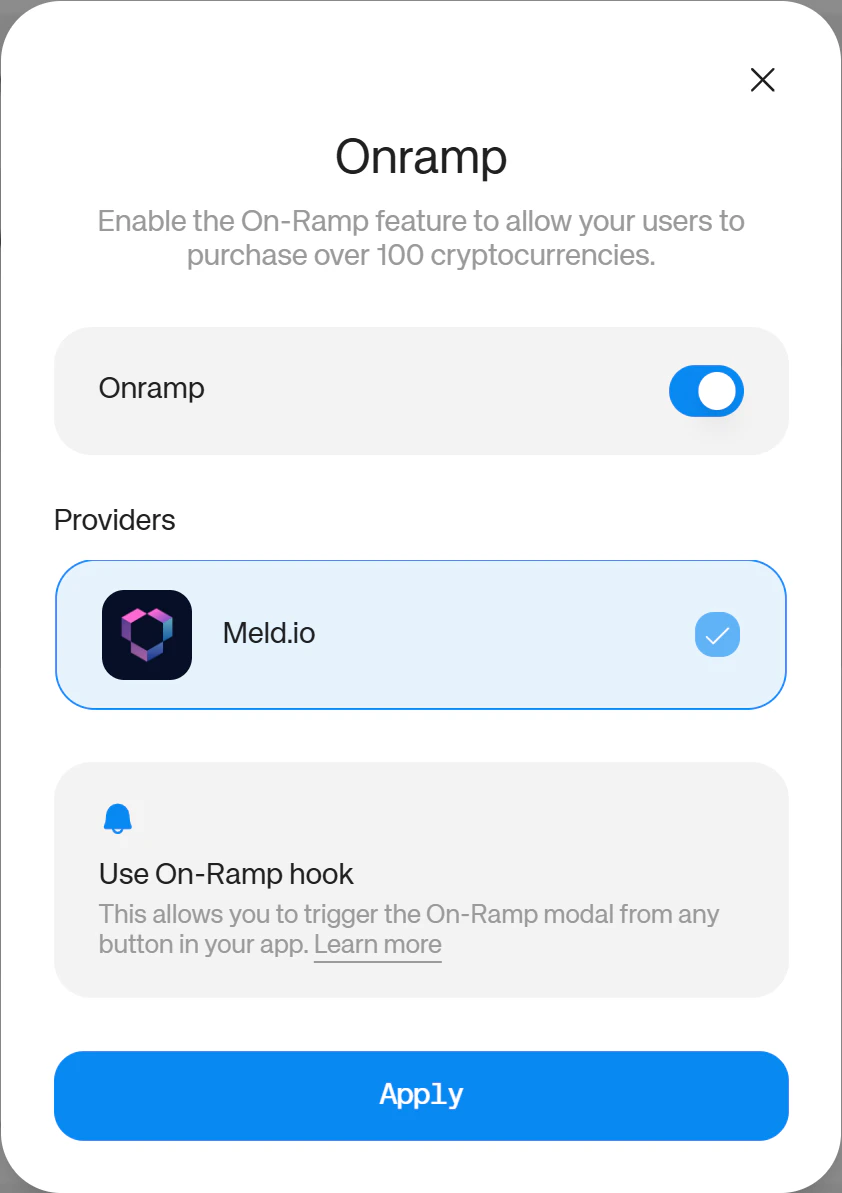
Swaps
Turn on the swap feature to allow your users to make crypto to crypto swaps (such as ETH to POL) directly in app. Flip the toggle on, choose your provider, and press “Apply” to register the changes.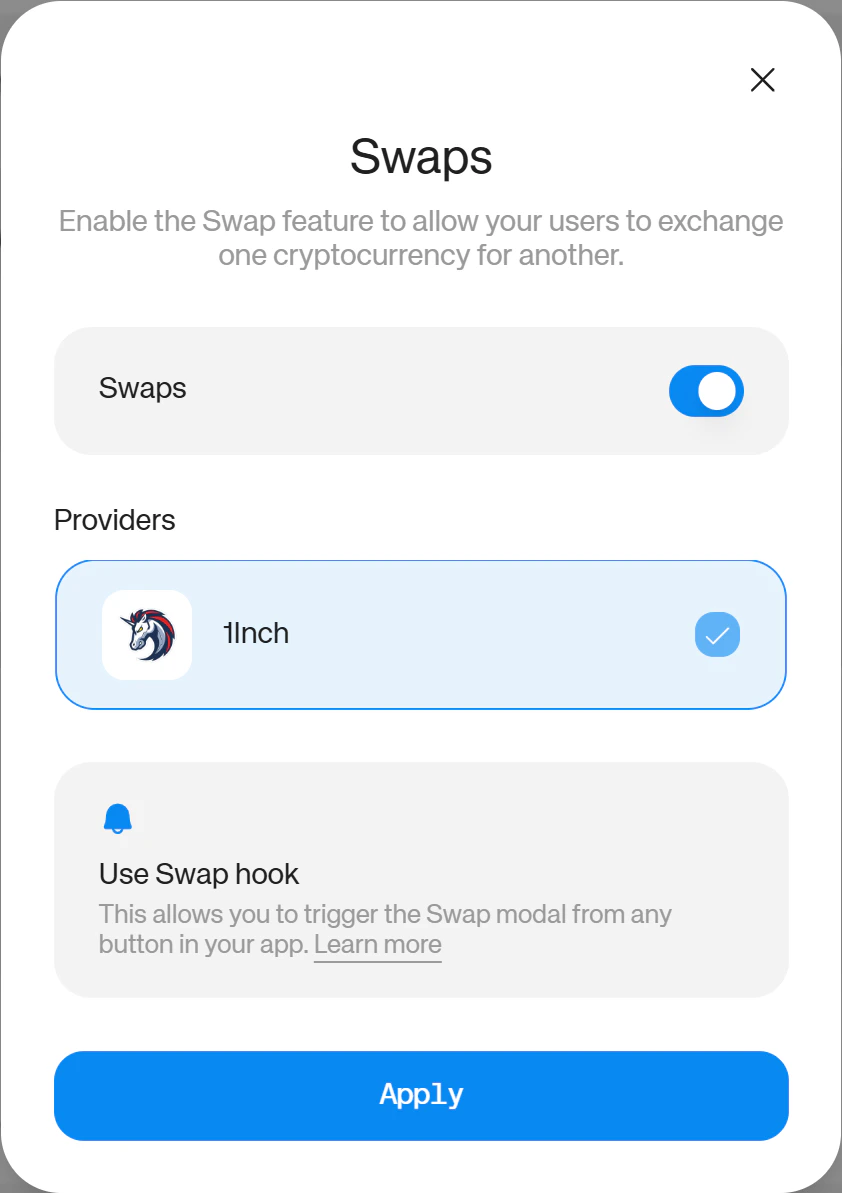
Deposit with Exchange
Turn on the Deposit with Exchange toggle to enable in-app wallet top-ups via exchange wallets. Flip the toggle on and press “Apply” to register your changes.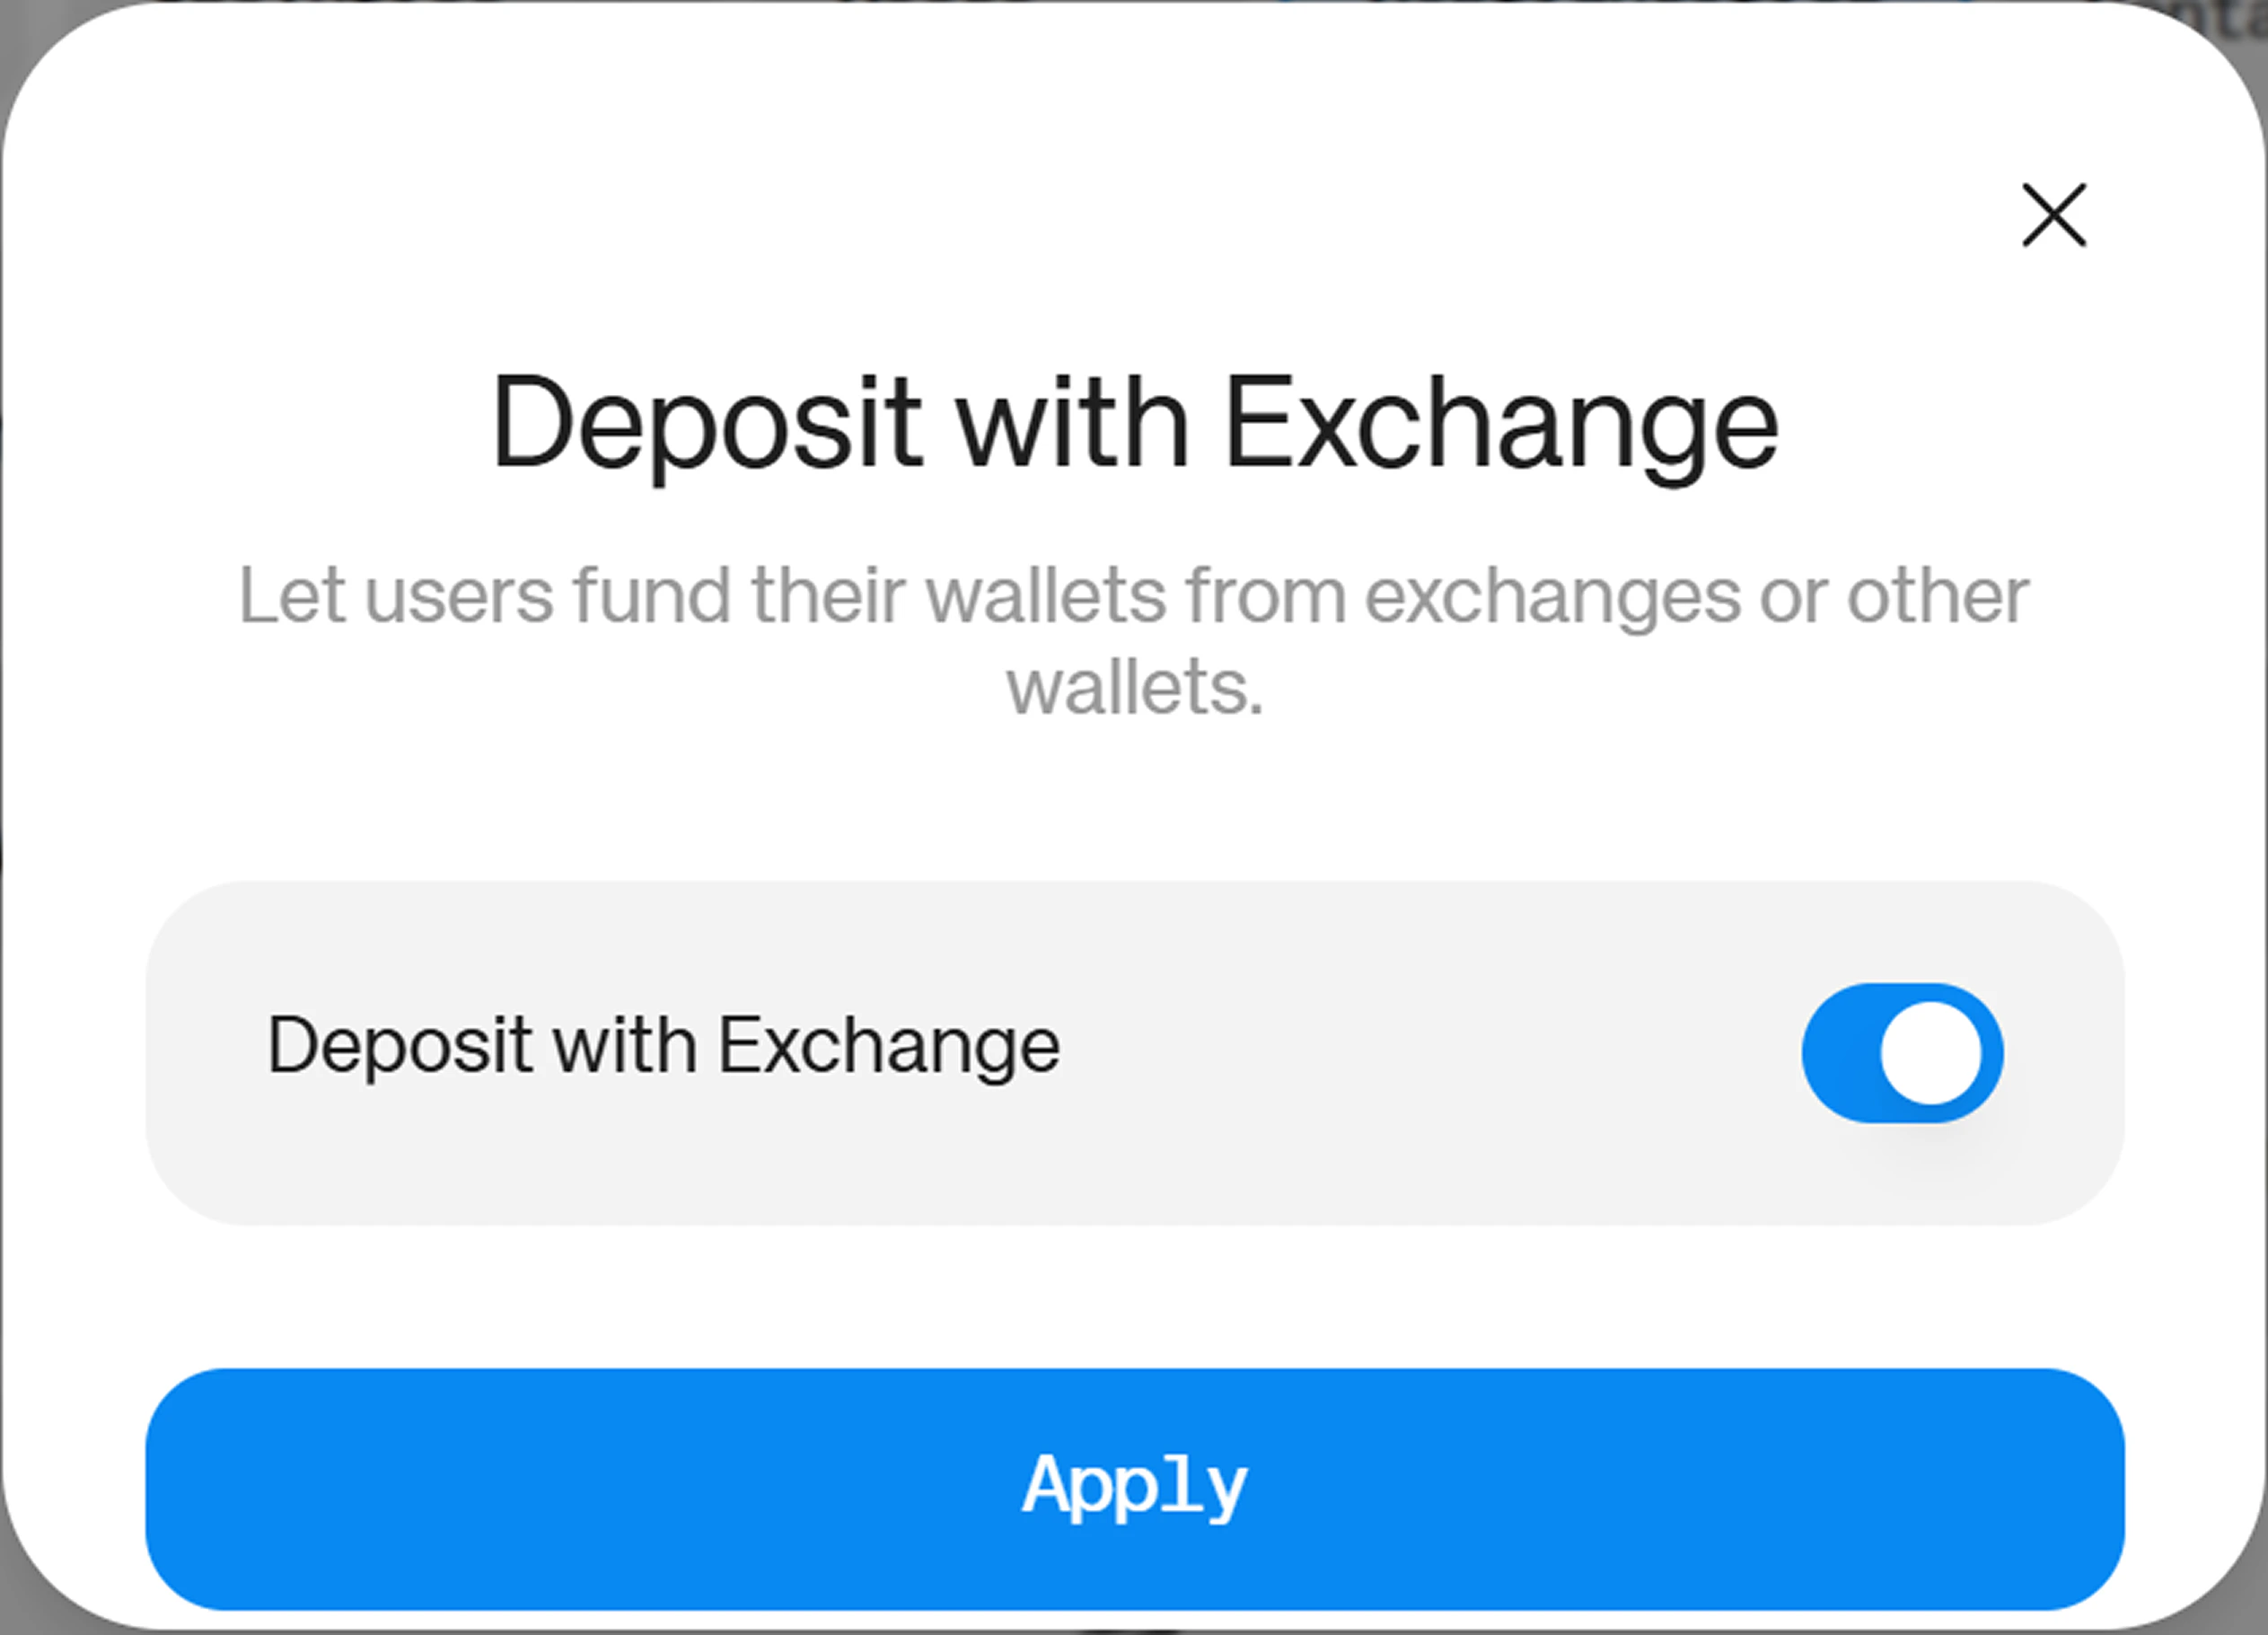
Payments
Accept payments in your app, either from exchanges or wallets with the Payments toggle. This allows you to set a fee recipient address, which is the wallet address you’d like to receive funds raised from transaction fees, and a refund address, which is used to return funds if a payment fails. To enable it, turn the toggle on, enter a Fee recipient address and a refund address, then click “Apply” to register your changes.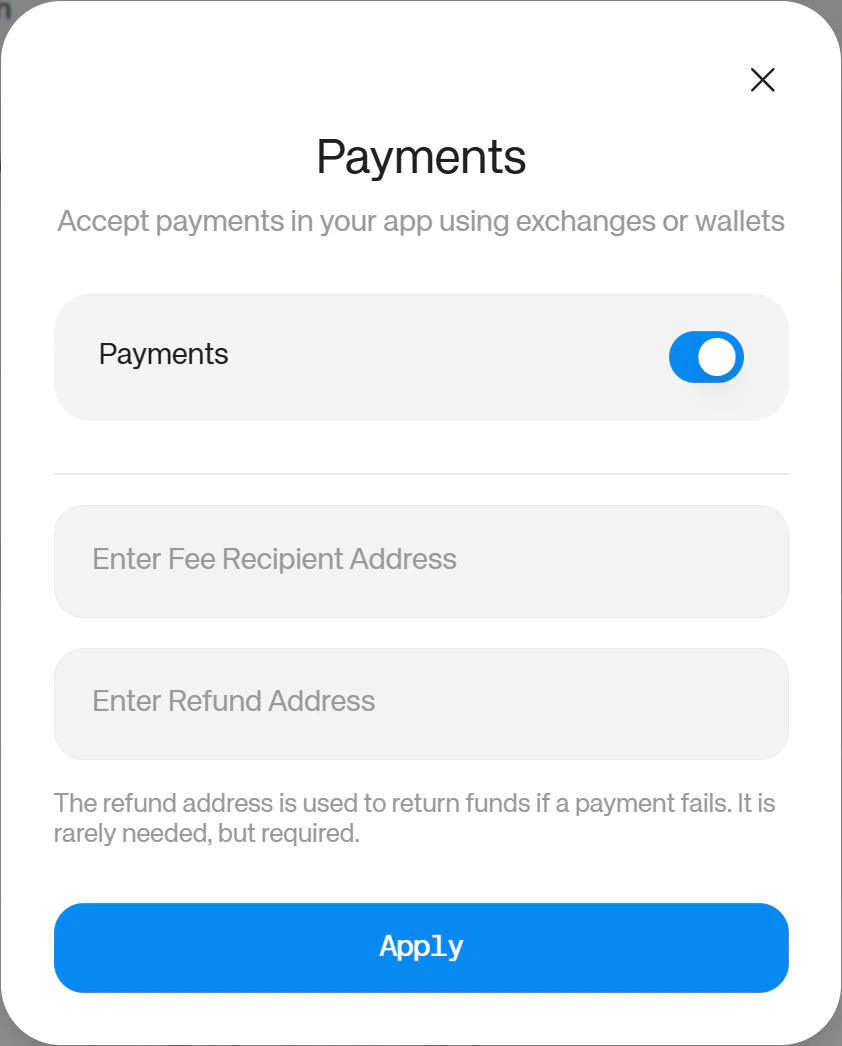
Tracking
Event Tracking
Event tracking allows you to track user interactions inside the connect wallet modal. This includes data such as wallet providers, wallet addresses and more, which will be surfaced in your Reown Dashboard’s Analytics tab. Turn on the toggle and press “Apply” to register your changes.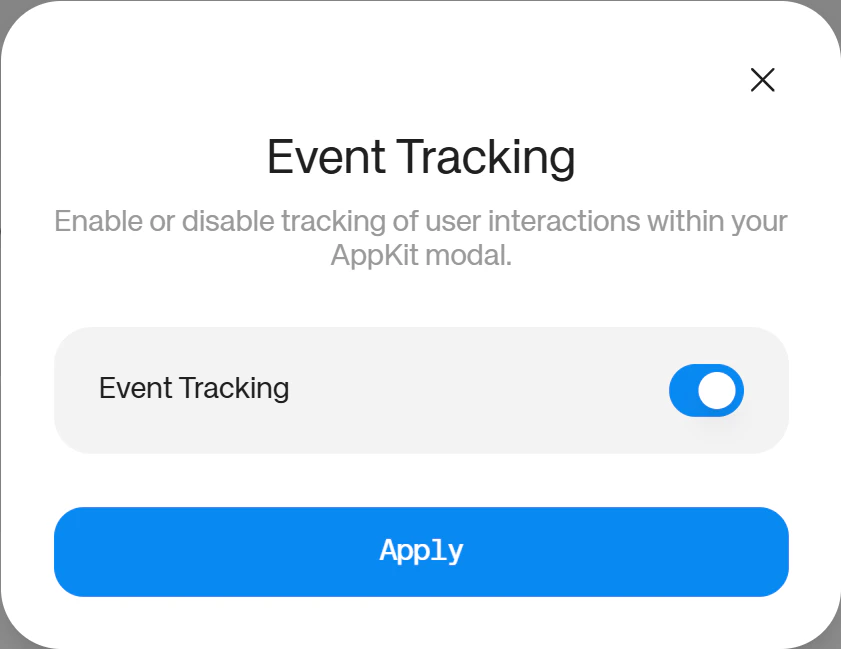
Activity
The activity toggle allows your users to see the history of their own transactions within your app. Turn on the toggle and press “Apply” to register your changes.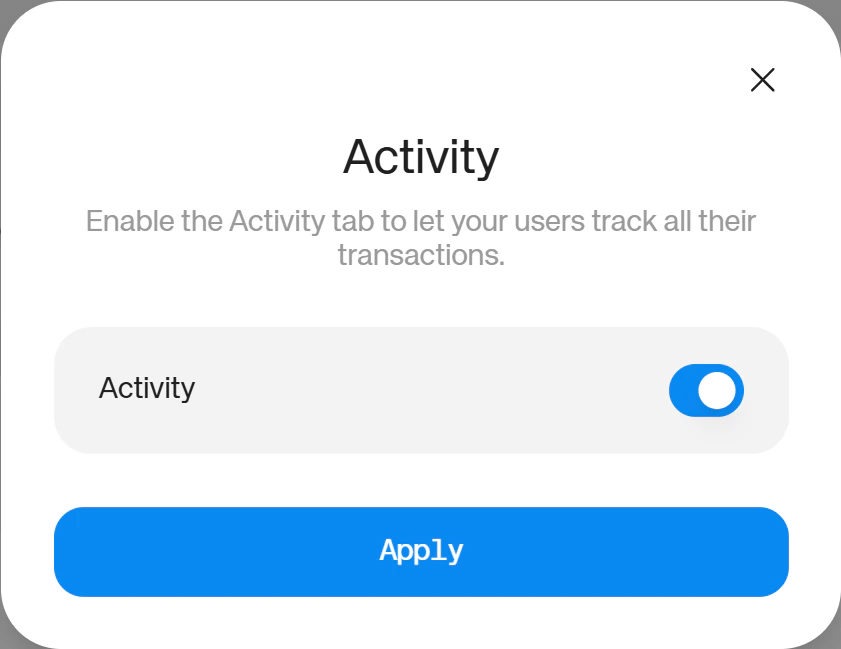
Customization
Headless
Enable Headless to completely customize the connect wallet modal instead of using Reown’s pre-built UI. Turn on the toggle and press “Apply” to register your changes.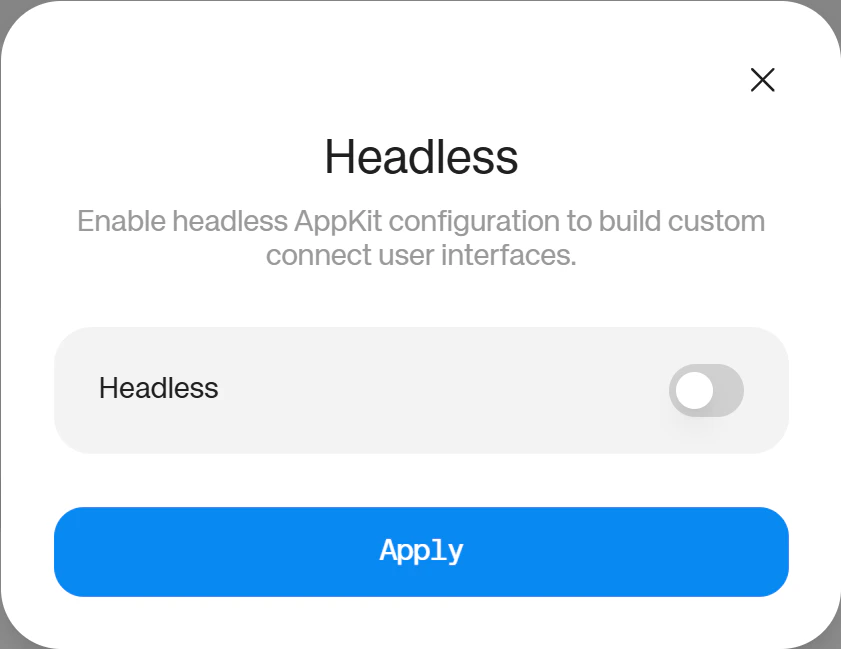
Remove Reown Branding
Remove Reown Branding toggle allows you to disable the “UX by Reown” text displayed at the bottom of your modal. Turn on the toggle and press “Apply” to register your changes.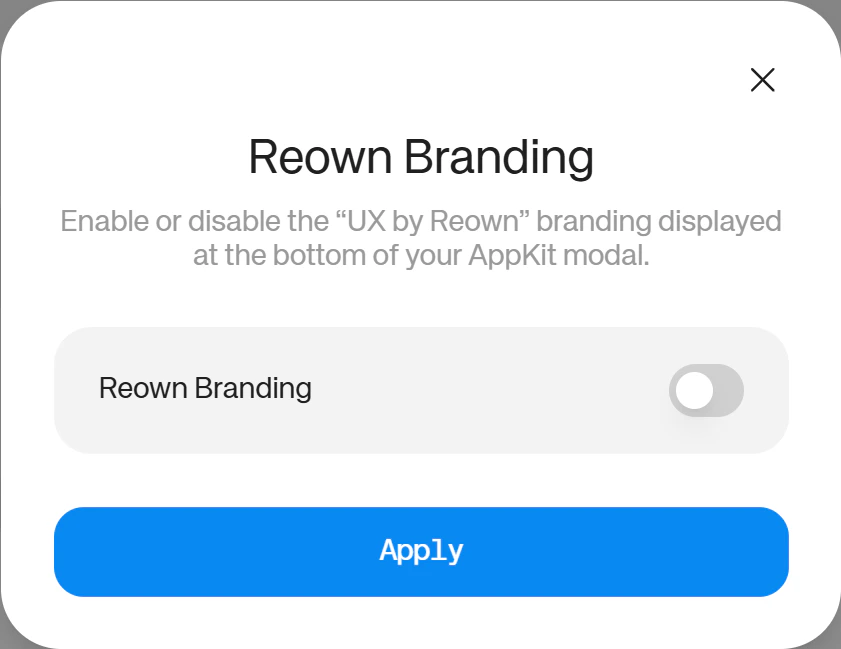
Other Configuration Settings
Domain Verification
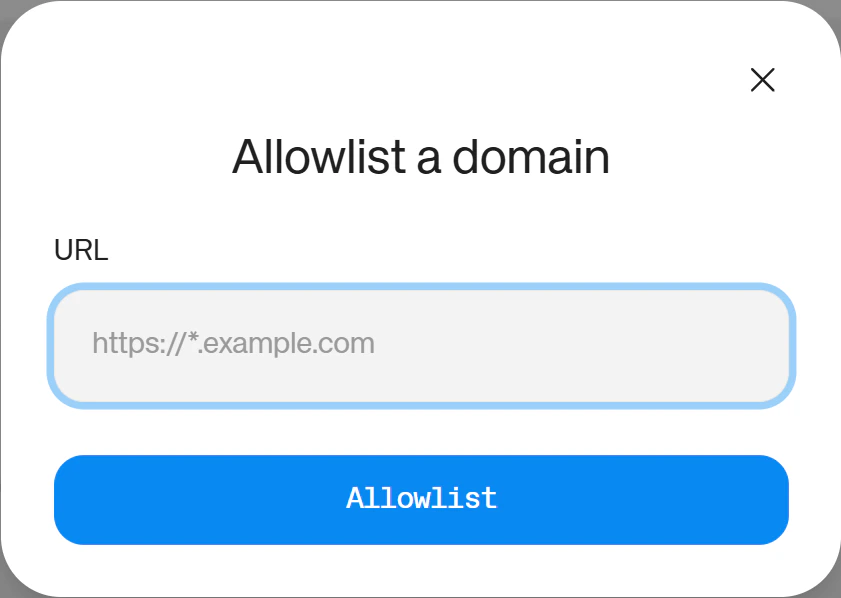
Domain verification lets you link your domain to your Reown project to ensure only your domain can access your project. To turn it on, scroll to the bottom half of the configuration page to find the “Domain” heading, then click the blue ”+ Domain” button, type in or copy paste your domain in the input field and click “Allowlist” to register your changes.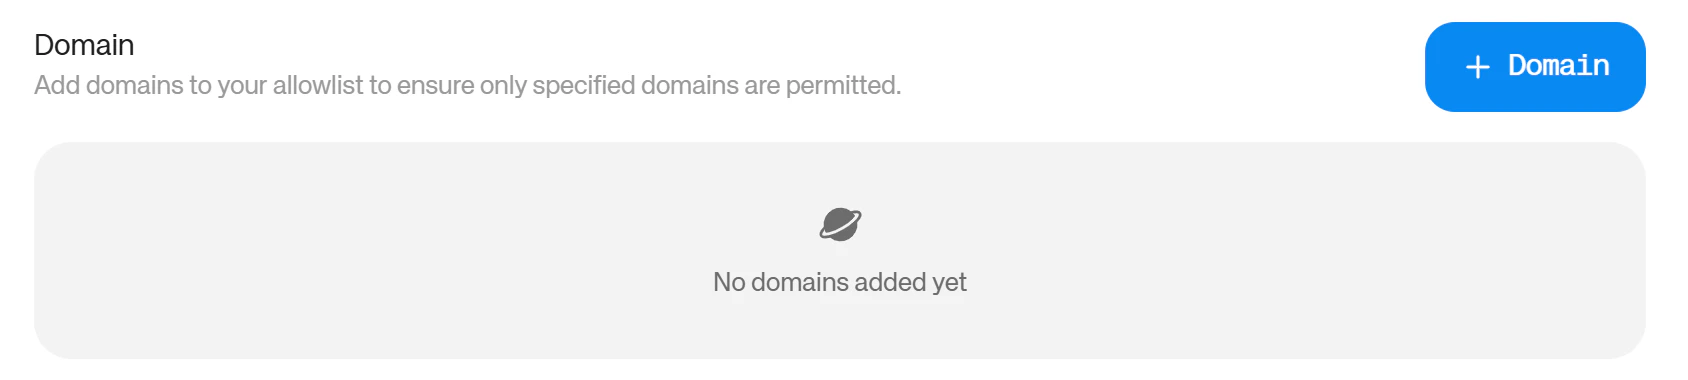
App ID
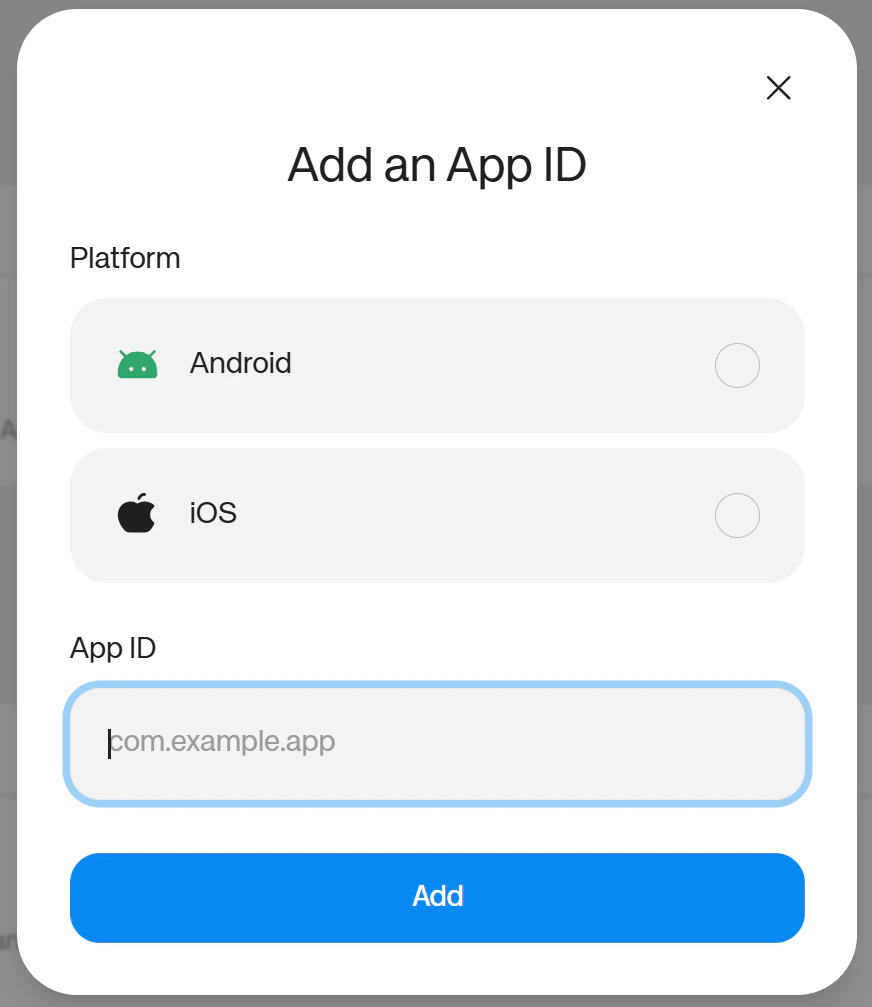
App ID lets you whitelist your iOS Bundle ID and Android Package Name to protect your project from impersonation. To turn it on, scroll to the bottom half of the configuration page to find the “App ID” heading, then click the blue ”+ App ID” button, choose your platform (either Android or iOS), type in or copy paste your App ID in the input field and click “Add” to register your changes.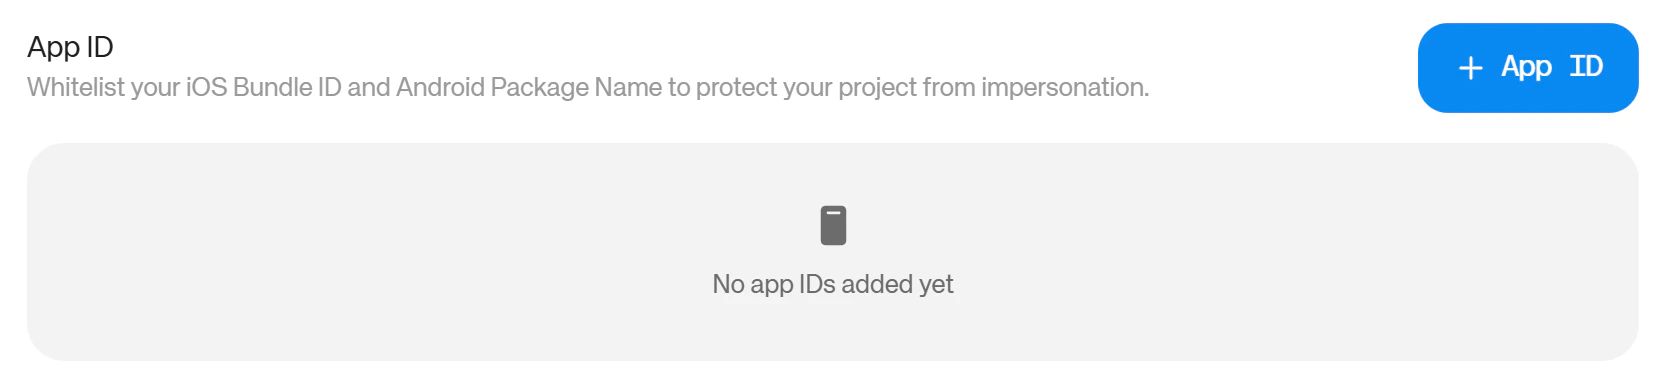
Secret
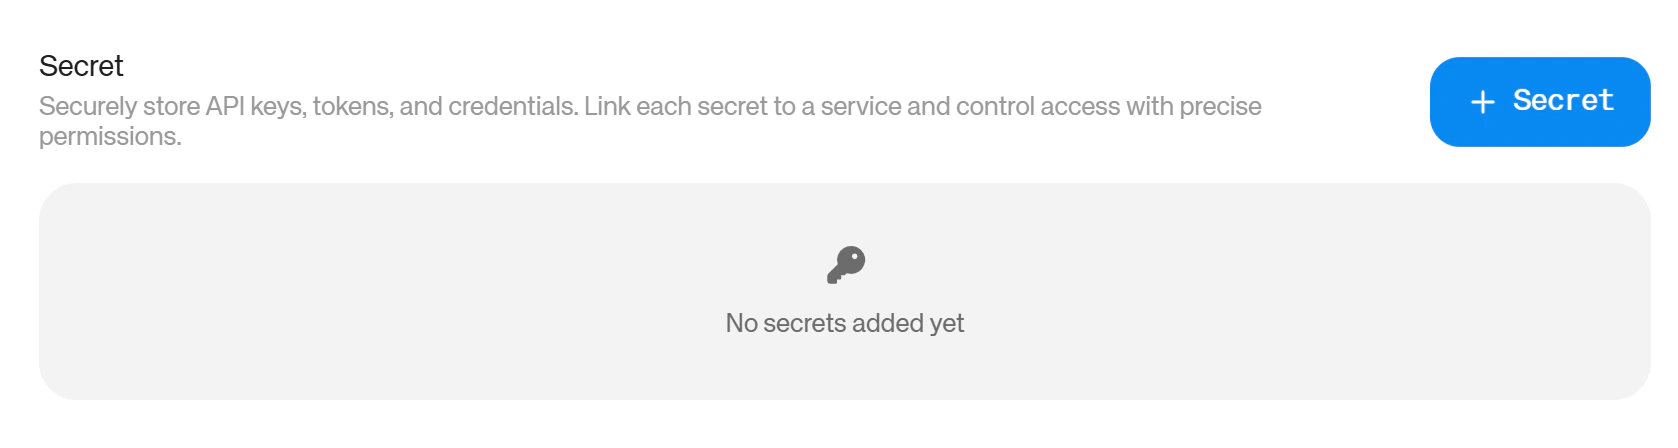
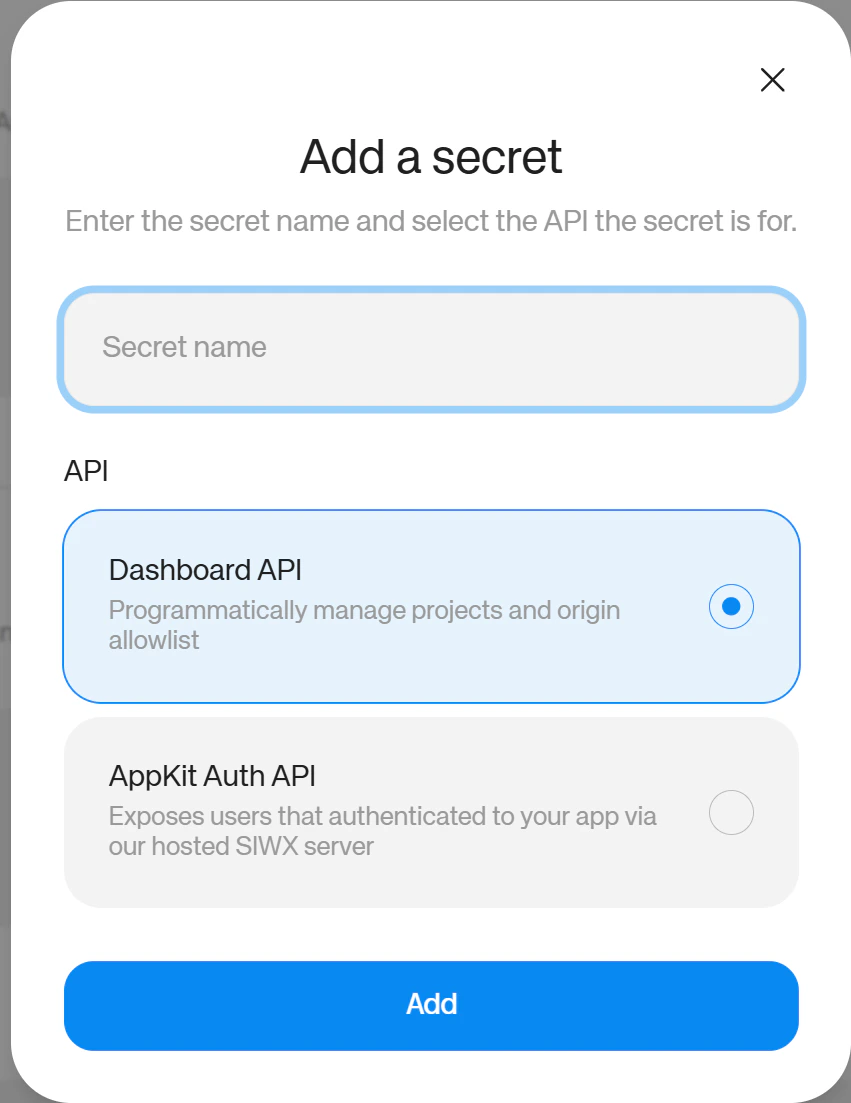
Use the Secret section to securely generate and store API keys. Choose Dashboard API to generate a secret key that can programmatically manage projects and origin allowlists, or choose AppKit Auth API to generate a secret key that exposes your authenticated users that connect to your app via our hosted SIWX server. To turn it on, scroll to the bottom of the configuration page to find the “Secret” heading, then click the blue ”+ Secret” button, name your secret, choose which API you want to generate a secret for and click “Add” to register your changes.